0
  • WHY CHOOSE LOADRITE?
  • Register a Trailer
  • Dealer Portal
  • Contact
  • Trailers
  • Parts
    • Axle Assemblies & Parts
    • Lights & Electrical
    • Hull Support Systems
    • Spare Tire Carriers
    • Braking
    • Springs, Supports & Bushings
    • Couplers & Tongue Jacks
    • Trailer Accessories
    • Fender Components
    • Wheel Assemblies & Components
    • Frame Components
    • Winch Stand Parts
    • Hardware
  • Trailers 101
  • Resources
    • FAQs
    • Trailer Parts Store
    • Service Videos
    • Documents
    • Warranty Information
  • About
    • Why Choose Load Rite?
    • News
    • Become a Dealer
  • Blog

Boat Trailers

  • Boat Trailers
  • Bunk Models
  • Roller Models
  • Skiff/Jon Boat Trailers
  • Catamaran Trailers
  • Canoe/Kayak Trailers
  • Ski Boat & Inboard Trailers

Personal Watercraft
(PWC)

  • Personal Watercraft Trailers

Pontoon Trailers and Tritoon Trailers

  • Pontoon Trailers
  • Tritoon Trailers

Specialty & Custom

  • Utility Trailers
  • Custom Trailers
  • Sailboat Trailers
  • Australian Certified Trailers
  • Shipping & Storage Cradles
 |
How to Repair a Trailer?

How to Repair a Trailer?

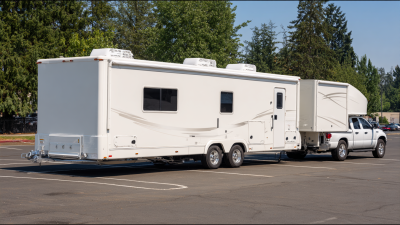
A trailer can look road-ready while hiding a problem beneath its frame. A cracked light lens, a soft tire, or a rusty coupler may seem minor. Each deserves a careful check before the next trip. This guide explains how to inspect common trouble spots, identify repairs that require specialist help, and choose the right tools and replacement parts.

For a clear starting point, imagine advice from “Alex Morgan, a fictional trailer-repair specialist created for this introduction”: “Find the cause before you replace the part.” This is an illustrative line, not a sourced quotation. The principle matters. A dead light may come from a failed bulb, a corroded connector, or damaged wiring. Guessing can waste time. It can also leave the fault unresolved.

Good trailer repair starts with a stable, parked trailer and a methodical inspection. Look closely at tires, wheel hubs, wiring, brakes, hitch components, and the frame. Notice specific clues: uneven tire wear, loose connectors, fresh grease near a hub, or rust around a weld. Some work is manageable for a prepared owner. Structural damage, uncertain brake faults, and repairs beyond your training call for a qualified technician. Be cautious. This guide will help you assess the problem, plan a safe repair, and recognize when a second opinion is the wiser choice. A missed detail is possible; checking again is part of doing the job well.
How to Repair a Trailer?
Table of Contents [Hide]
1 Assess the Trailer’s Condition and Identify the Damage
2 Secure the Trailer and Gather the Necessary Tools
3 Inspect the Frame, Hitch, Tires, and Electrical Systems
4 Repair or Replace Damaged Trailer Components
5 Test the Repairs Before Returning the Trailer to Service

Assess the Trailer’s Condition and Identify the Damage

Assess the Trailer’s Condition and Identify the Damage

Before repairing a trailer, park it on firm, level ground and secure it against movement. Walk around the trailer in good light. Look for bent frame sections, cracked welds, loose fasteners, rust, and fresh scrape marks. Check the hitch, safety chains, lights, tires, and wheel area. A tire with uneven wear may point to an alignment or suspension problem, not just a worn tread. Don’t crawl beneath a trailer supported only by a jack. Some damage is easy to miss when you’re eager to get moving.

Tips: Take clear photos and note each fault before removing parts. Use a flashlight to inspect dark corners, and compare both sides for uneven gaps or sagging. If you find a cracked frame, severe corrosion, or uncertain structural damage, stop using the trailer and ask a qualified repair professional to inspect it. A small-looking crack can matter.

Separate surface damage from safety concerns. A dented fender may be cosmetic, while a loose axle component or damaged coupler can affect control. Check whether doors close squarely and whether the deck feels soft underfoot; water damage can hide beneath a solid-looking surface. Write down what you observed, but leave room for being wrong. Symptoms do not always reveal the cause, and a careful inspection is safer than guessing.

Secure the Trailer and Gather the Necessary Tools

Before repairing a trailer, park it on firm, level ground, away from passing traffic. Apply the tow vehicle’s parking brake, then chock the trailer wheels on both sides. If the trailer is detached, lower its stabilizer or tongue jack onto a solid surface. Never rely on a jack alone. A small shift can turn a routine repair into a serious injury.

Gather wheel chocks, a properly rated jack and stands, gloves, eye protection, a flashlight, and the correct hand tools. Check the trailer’s manual for lifting points and specified fastener torque; guessing can damage components. Keep a wheel nearby as a backup only if it cannot roll into your work area. Tools should be within reach, not scattered underfoot. I have learned that the missing tool is often the one needed last.

The stakes are real: the National Highway Traffic Safety Administration’s 2022 Traffic Safety Facts reported 5,837 people killed in crashes involving large trucks. That figure does not describe trailer-repair injuries, but it underscores why safe equipment and roadworthy trailers matter. Inspect the jack, stands, and chocks for cracks, bent parts, or slipping surfaces before use. If the ground is soft, the trailer rocks, or the repair requires working beneath an unsupported load, stop and reset the setup. A rushed repair is not a safer repair.

Inspect the Frame, Hitch, Tires, and Electrical Systems

01

Inspect the Frame and Hitch

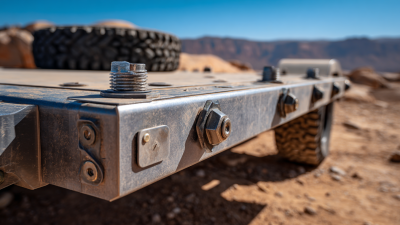
A trailer can look sound while hiding a cracked weld or a loose connection. Park on firm, level ground, secure the wheels, and inspect the frame from front to rear. Look closely around crossmembers, spring hangers, and the hitch for rust, bent metal, or fresh cracks. A cracked structural member needs assessment by a qualified repair professional; welding over damage without finding its cause can make it worse. Check the coupler for movement, damaged locking parts, and a secure connection to the tow vehicle.

02

Check Tires Carefully

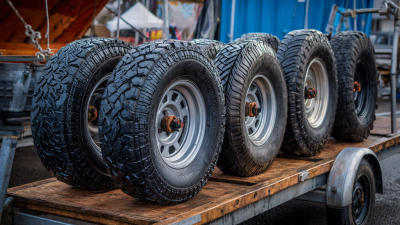
Tires deserve more than a quick glance. NHTSA’s 2022 traffic safety data recorded 646 deaths in crashes involving tire-related factors. Check pressure when tires are cold, using the trailer maker’s specified value, and inspect sidewalls for bulges, cuts, or exposed cords. Also look for uneven tread wear, which may point to alignment or suspension trouble.

Small clues matter.

03

Test Lights, Wiring, and Brakes

Test every light and electrical connection before travel. Confirm brake lights, turn signals, running lights, and the trailer brakes work; inspect wiring for chafing, corrosion, or loose grounds. I still recheck a plug after cleaning it—easy to miss. If brakes drag, wiring heats up, or a bearing feels rough, stop and get qualified help rather than guessing. Keep a written record of repairs and tire-pressure checks; it makes recurring problems easier to spot.

Repair or Replace Damaged Trailer Components

How to Repair a Trailer?

Repair or Replace Damaged Trailer Components

A trailer can look road-ready while hiding damage beneath dust or chipped paint. Park it on level ground, secure the wheels, and inspect the frame, hitch, axle, tires, lights, and wiring. Use a flashlight to check welds and frame corners for cracks, bending, or fresh rust. Small cracks matter. Never tow a trailer with a damaged hitch or visibly bent frame.

Some parts can be repaired safely when damage is minor and the component remains structurally sound. A loose light connection may need a clean terminal or a short wiring section replaced. A punctured tire should usually be replaced, not patched at home, because trailer tires carry heavy, shifting loads. Check bearings for roughness or heat, too. I once assumed a faint grinding sound was harmless; it was not. A damaged bearing can affect the whole wheel assembly.

Replace components when cracks reach load-bearing areas, metal is badly corroded, or damage returns after repair. Match replacement parts to the trailer’s rated capacity and dimensions. Follow the service manual, and have a qualified technician assess frame, axle, suspension, or brake damage if you are unsure. Do not guess. After repairs, test lights and brakes, tighten fasteners to the specified torque, and make a short, slow check in a safe area before carrying a load.

Test the Repairs Before Returning the Trailer to Service

How to Repair a Trailer?

Test the Repairs Before Returning the Trailer to Service

A repair is not proven by a clean-looking weld or a tightened bolt. Test the trailer under controlled conditions before it carries a load. Start with a walk-around: check tire pressure, wheel fasteners, lights, coupler, safety chains, and repaired frame areas. Use the torque values and procedures specified for the trailer and components; guessing can create a new failure. Keep hands clear of pinch points, and support raised equipment with rated stands. Small details matter.

Test each repaired system separately. Connect the trailer to a suitable tow vehicle and confirm every signal light works. Apply the brakes at low speed in a clear, level area, then listen for scraping, feel for pulling, and check for unusual heat at the hubs. Recheck fasteners after the manufacturer’s recommended settling period. If a tire was removed, verify its pressure again when cold. In its 2024 International Roadcheck results, the Commercial Vehicle Safety Alliance reported that 9,345 inspected commercial vehicles were placed out of service, about 19.2 percent of vehicles inspected. Those inspections are not a trailer-repair study, but they show why checks cannot be treated as paperwork. Record what you tested and what you observed. I have seen a repair look sound and still miss a simple lighting fault. If anything feels uncertain, stop and have a qualified technician inspect it before service.

How to Repair a Trailer? Test the Repairs Before Returning the Trailer to Service

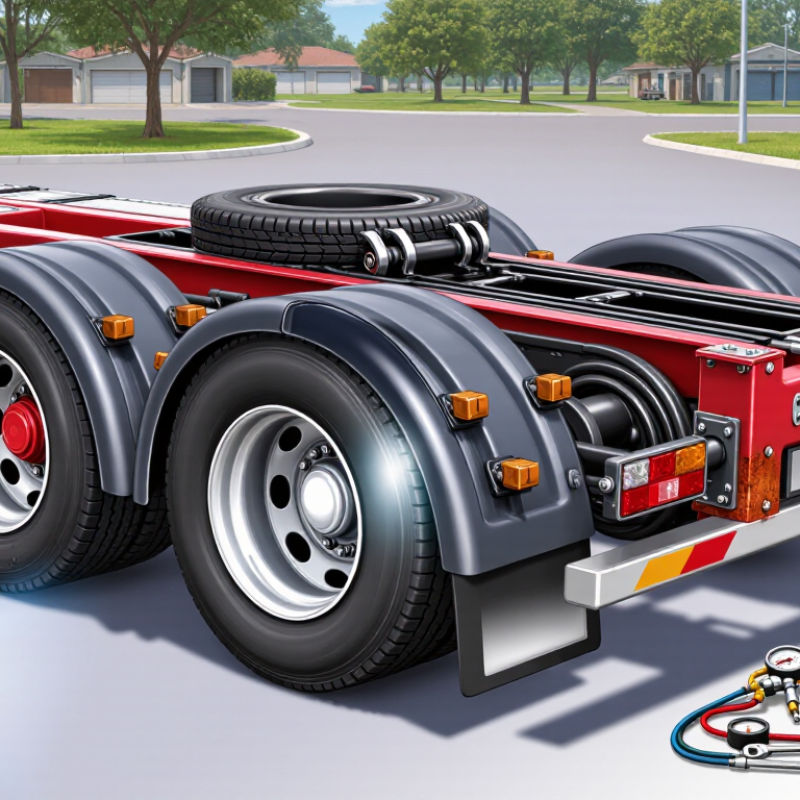
This example checklist groups common post-repair verification actions by trailer system. The counts are illustrative, not industry statistics; follow the trailer manufacturer’s instructions and applicable safety requirements. Do not return the trailer to service until repairs and relevant checks are complete.

Related Posts

  • Unlocking the Advantages of Trailer Accessories for Enhanced Safety and Efficiency

    Unlocking the Advantages of Trailer Accessories for Enhanced Safety and Efficiency

  • Exploring Innovative Alternatives for Utility Trailer Parts That Enhance Performance

    Exploring Innovative Alternatives for Utility Trailer Parts That Enhance Performance

  • How to Choose the Best Trailer Accessories for Your Hauling Needs

    How to Choose the Best Trailer Accessories for Your Hauling Needs

  • Understanding Issues with Best Boat Trailer Tires for Global Importers

    Understanding Issues with Best Boat Trailer Tires for Global Importers

  • 2025 Trends in Utility Trailer Parts: A Comprehensive Comparison of Quality and Performance

    2025 Trends in Utility Trailer Parts: A Comprehensive Comparison of Quality and Performance

  • The Future of Enclosed Trailers Embracing Innovative Designs and Sustainable Practices

    The Future of Enclosed Trailers Embracing Innovative Designs and Sustainable Practices

Blog Tags:

  • trailer repair parts
  • trailer repair equipment
  • trailer repair tools
  • trailer repair supplies
  • commercial trailer parts
  • trailer parts supplier
  • Trailers
  • Parts
  • About
  • Contact
  • Find a Dealer
1-800-LOADRTE
©2017 - 2025 Load Rite Trailers, Inc
  • Terms & Conditions
  • Privacy
  • Site Map